How-to
Professional profile setup
Setting up Your Professional Profile:
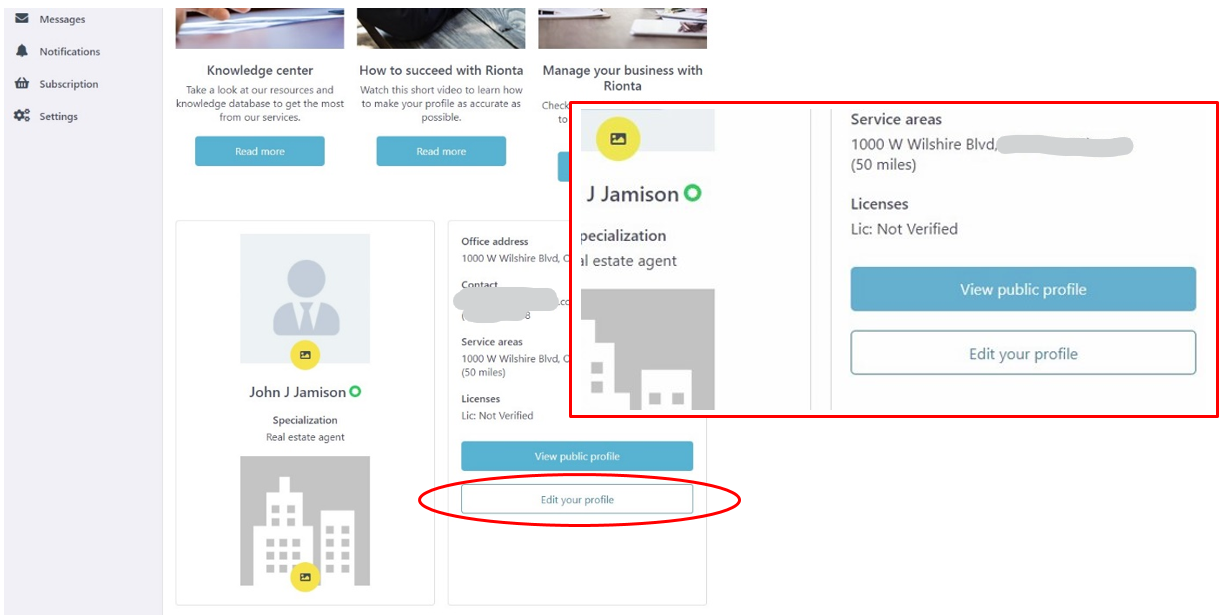
1. On your Dashboard screen, you can add your photo and company logo. Then, click the 'Edit your profile' button on the bottom right.
2. On the editing page, write your company name. You can also add or change your photo and logo on this page.

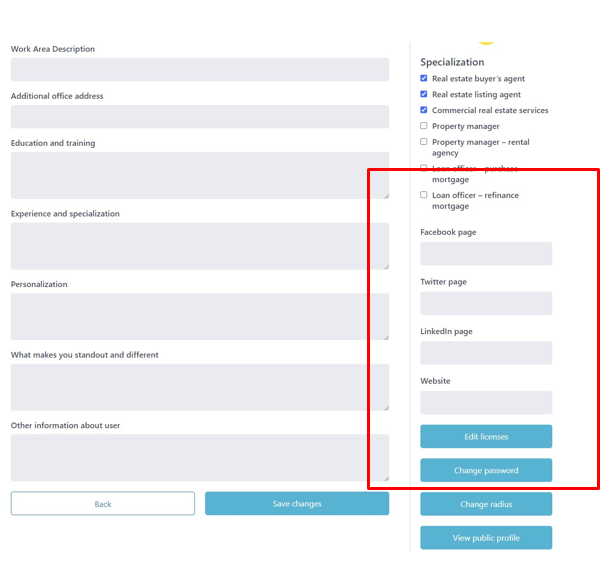
3. Fill out information about yourself, including your experience, qualifications, professional achievements, and business philosophy.
You can also add a statement to describe your services and details. Note that the titles of different fields will not be published and are only included to give agents an idea of good presentation components.

4. Add links to your social network accounts used to promote your business, as well as your business website (if you have one).
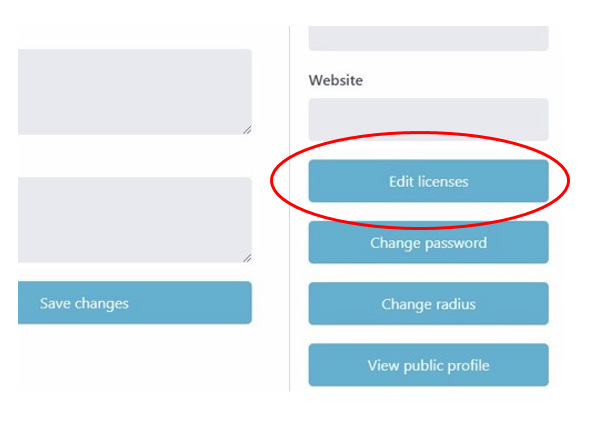
5. To add your professional licenses to your profile page, use the 'Edit Licenses' link in the bottom right corner.
On the next form, fill in your license information and request verification.
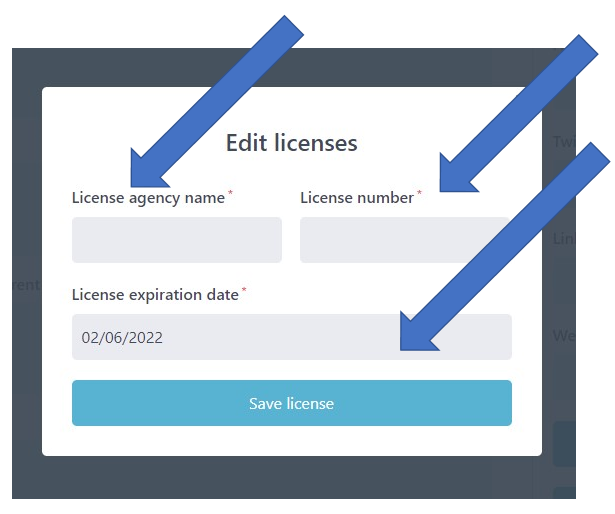
Our customer service representative will verify your license and attach the 'Verified' seal to the license information on your profile page within several business hours, depending on the number of requests in queue.

6. By default, the service area radius is set to 50 miles, but you can change it to your preference using the 'Change radius' link in the right bottom menu.
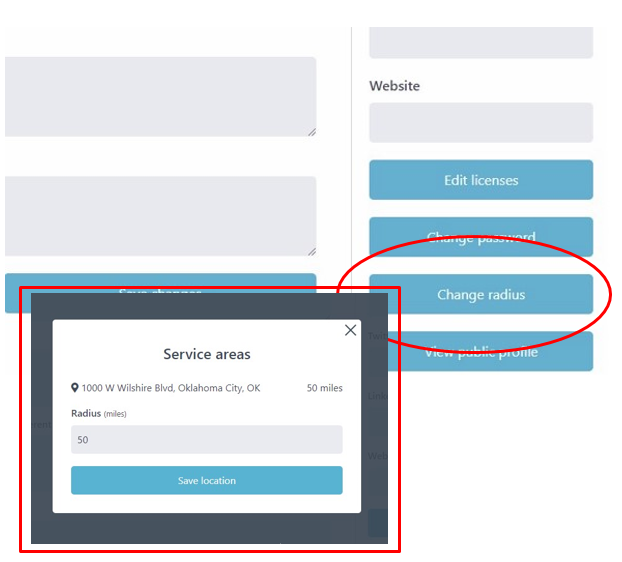
For mortgage loan originators, there is an option to include the state where they are licensed instead of the service area determined by the radius based on the office location.

Your professional profile is almost complete. To make it perfect you need to add several reviews and ratings of your services from your past cleints. We have designed the processes of getting clients reviews to be a quick and straightforward process that should only take a few minutes of your time and theirs.
To see 4 steps tutorial on getting your first clients reviews please click here to move to the "Adding reviews and ratings" section.